
Import data
Getting your data into Livedocs is the first step to creating powerful analyses and visualizations. Livedocs supports a wide variety of sources, from traditional databases to modern cloud data warehouses, as well as files like CSV, JSON, and Parquet.
Bringing in your data
You can connect databases or upload files from two places:
-
Dashboard View – Go to your Livedocs dashboard and click the Data tab. From here, you can:
- Connect to a database (PostgreSQL, Snowflake, BigQuery, ClickHouse, and more)
- Upload files (CSV, JSON, Parquet, Excel)
-
Editor View – While working in a document, open the Data panel to connect or upload without leaving the editor.
Invite your team
Collaborating in Livedocs is simple — invite your teammates so you can work together in real time, share work securely, and get help when you need it.
Why Invite Your Team?
-
Collaborate on Data Exploration
Work together in the same notebook, in real time — see edits instantly, run cells, and explore data side-by-side. -
Share Work Privately
Share notebooks with teammates as viewers without making them public. -
Get Help Connecting Data Sources
Let more technical teammates handle database or warehouse connections. -
Comment and Discuss
Leave comments directly on cells to give feedback, ask questions, or suggest changes. -
Work Together, Seamlessly
From brainstorming to dashboards, everything stays in one shared workspace.
How to Invite
- Go to Workspace Settings.
- Click Invite Teammates.
- Enter their email address and choose their role (Editor, Viewer, etc.).
- Send the invite — they’ll get an email with a link to join.
Free Plan vs Paid
- Free Plan: Invite up to 2 additional teammates (3 total in a workspace).
- Paid Plan: $20/seat/month for every additional teammate beyond the free limit.
Roles in Livedocs
- Admin: Can access all projects in the workspace, create projects, and manage workspace assets, users, and settings.
- Editor: Can access all projects shared with the workspace and create projects.
- Viewer: Can access all published projects shared with the workspace. Cannot create, edit, or duplicate projects.
Only you (the person who created the workspace) are the billing admin.
Get Started with AI
Livedocs AI helps you analyze, explore, and work with your data faster by combining natural language prompts with full access to your connected data.
Where to Start
From the ‘For You’ Tab
- Open the For You tab in your workspace.
- Use the prompt box to ask questions or give instructions.
- Attach files by dropping them directly into the prompt box (CSV, Parquet, Excel, etc.).
- Tag data using
@to reference tables, dataframes, files, and more from your workspace.
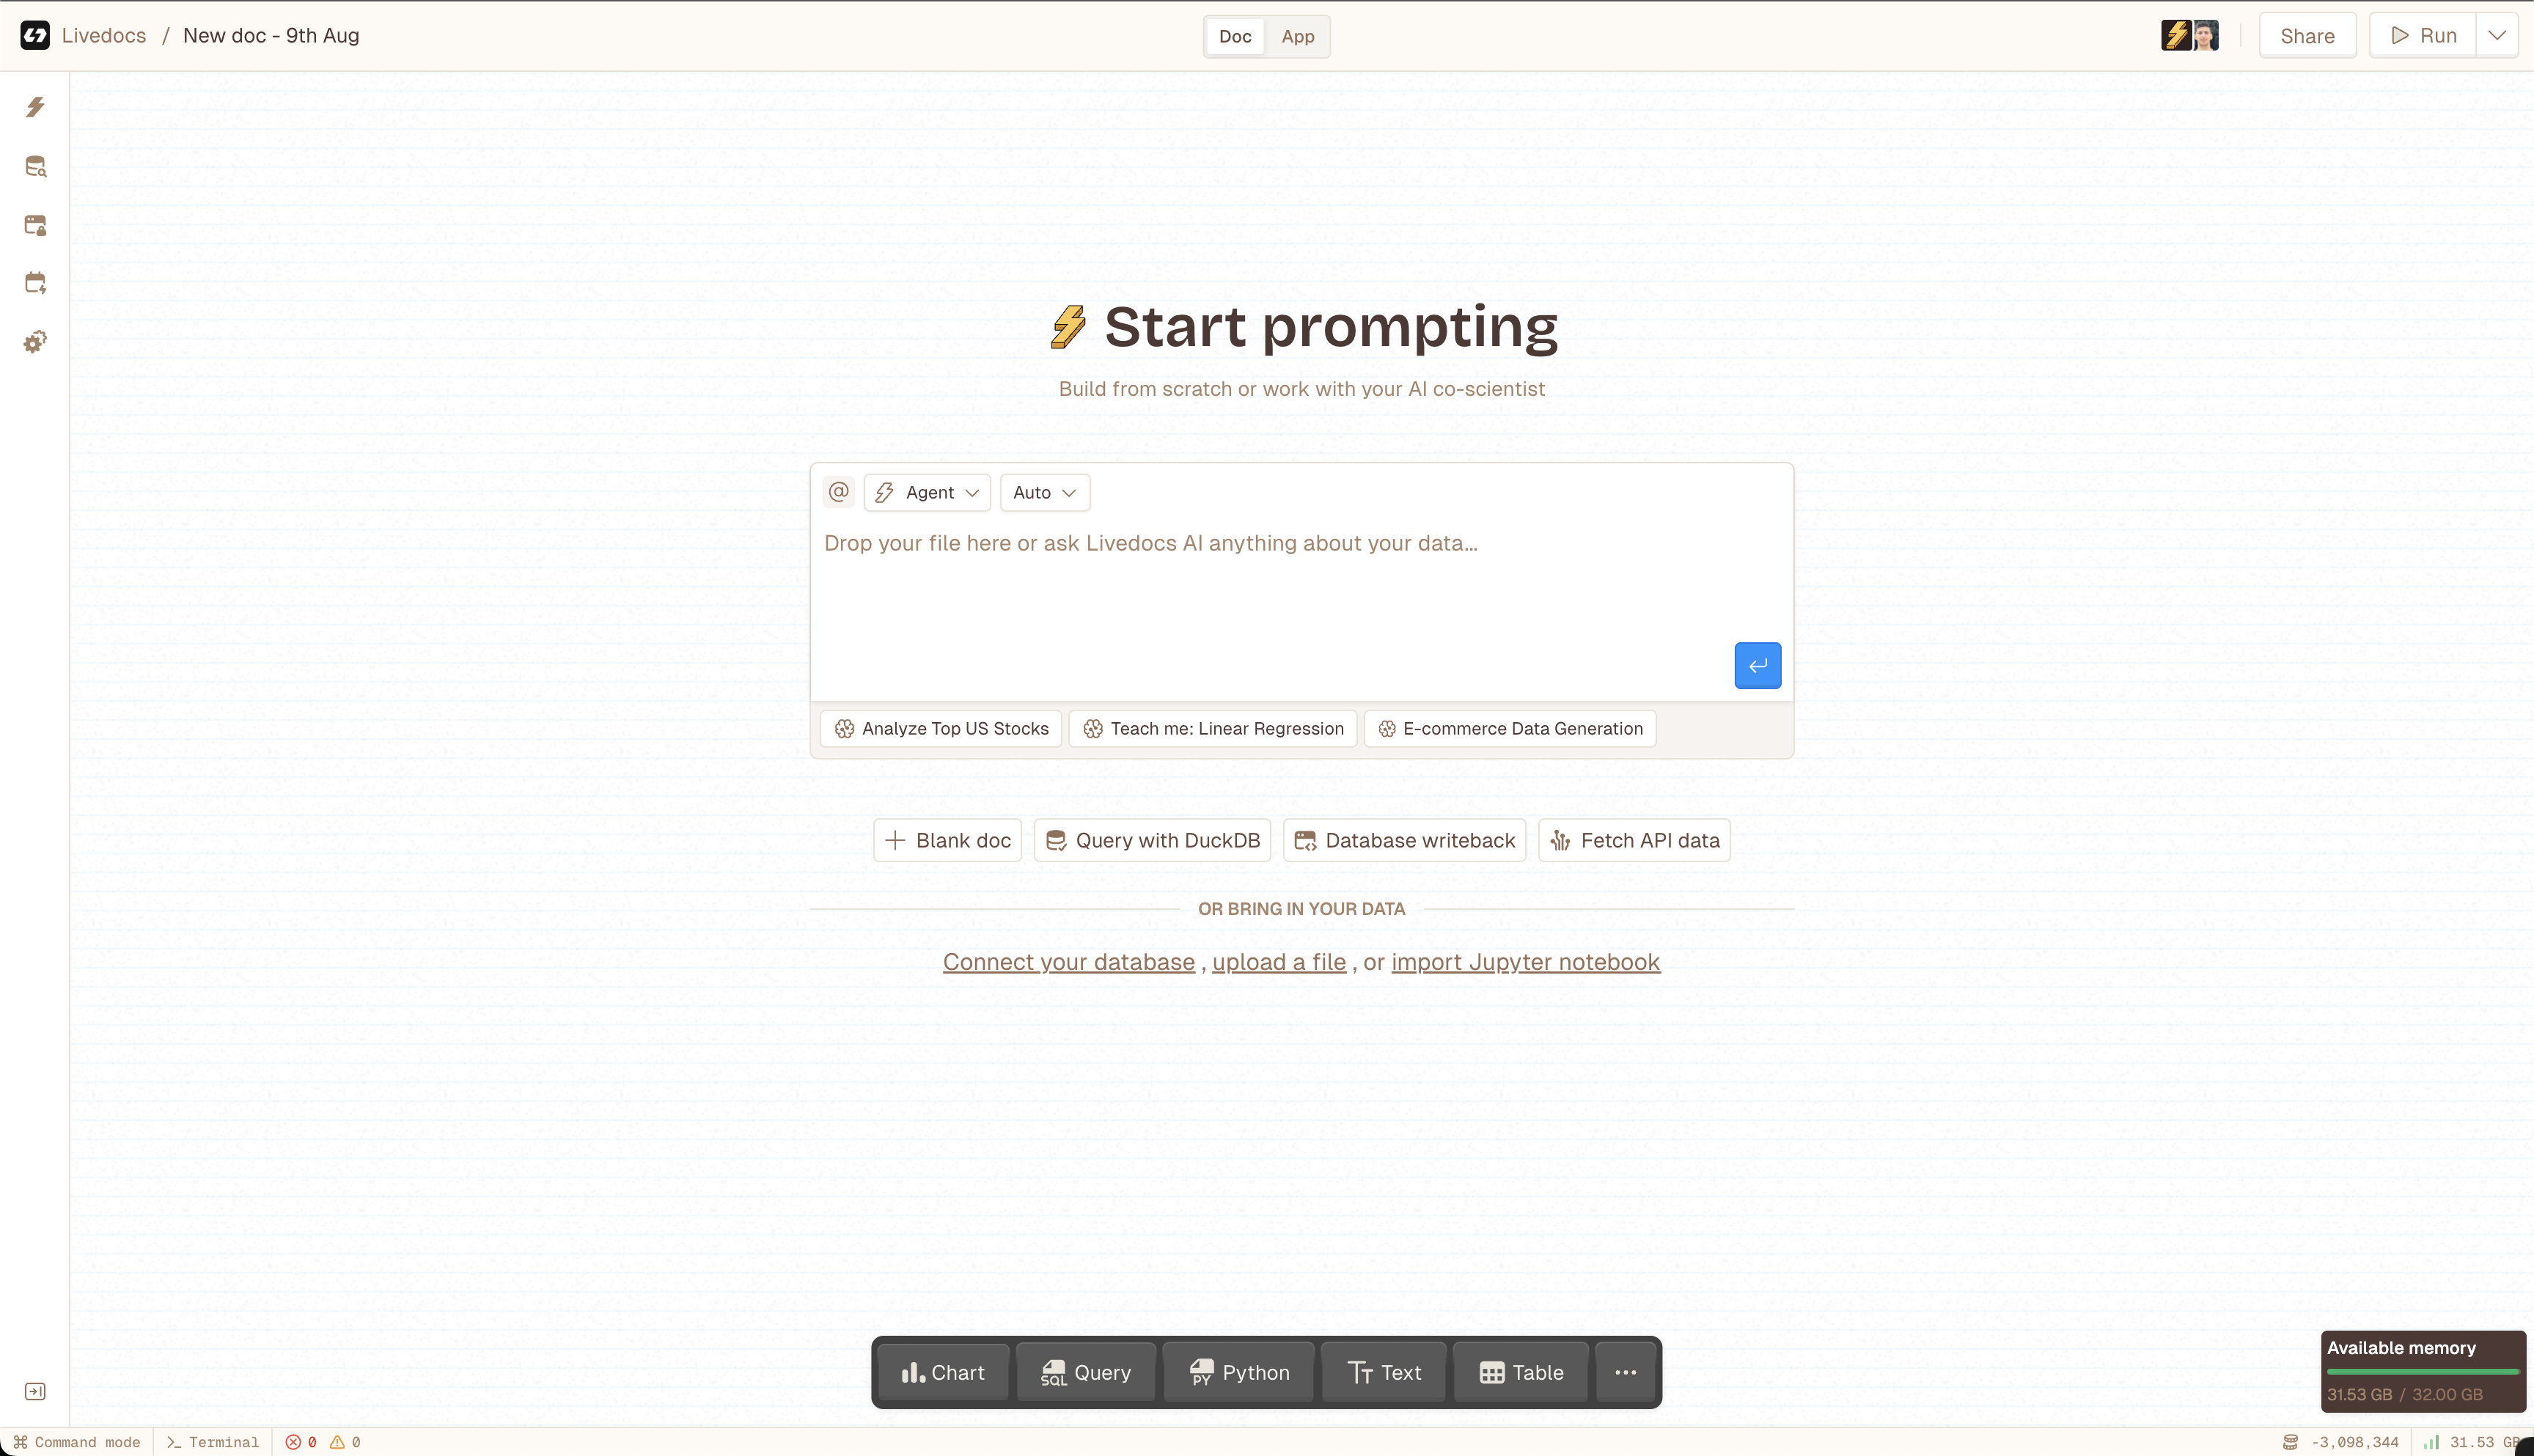
From the Docs Tab
- Create a new document in the Docs tab.
- If the doc is empty, you’ll see the same AI prompt box to start working instantly.
- Alternatively, click the bolt icon in the left sidebar to start a new AI session.
Prompting
You can give Livedocs AI both high-level and specific instructions:
-
Ask end-to-end questions:
“How much is our support spend per customer?” -
Request targeted analysis:
“Take this Excel file, filter for active leads, and plot a graph of sign-up trends.” -
Perform advanced tasks:
“Train a linear regression model to predict sales based on ad spend.” -
Clean and transform data:
“Remove duplicates from this CSV and fill missing values with the median.” -
Explain results:
“Explain this chart in simple terms for a non-technical audience.”
If your data is connected and tagged, AI can pull it into context, perform the operations, and present results directly in your notebook.
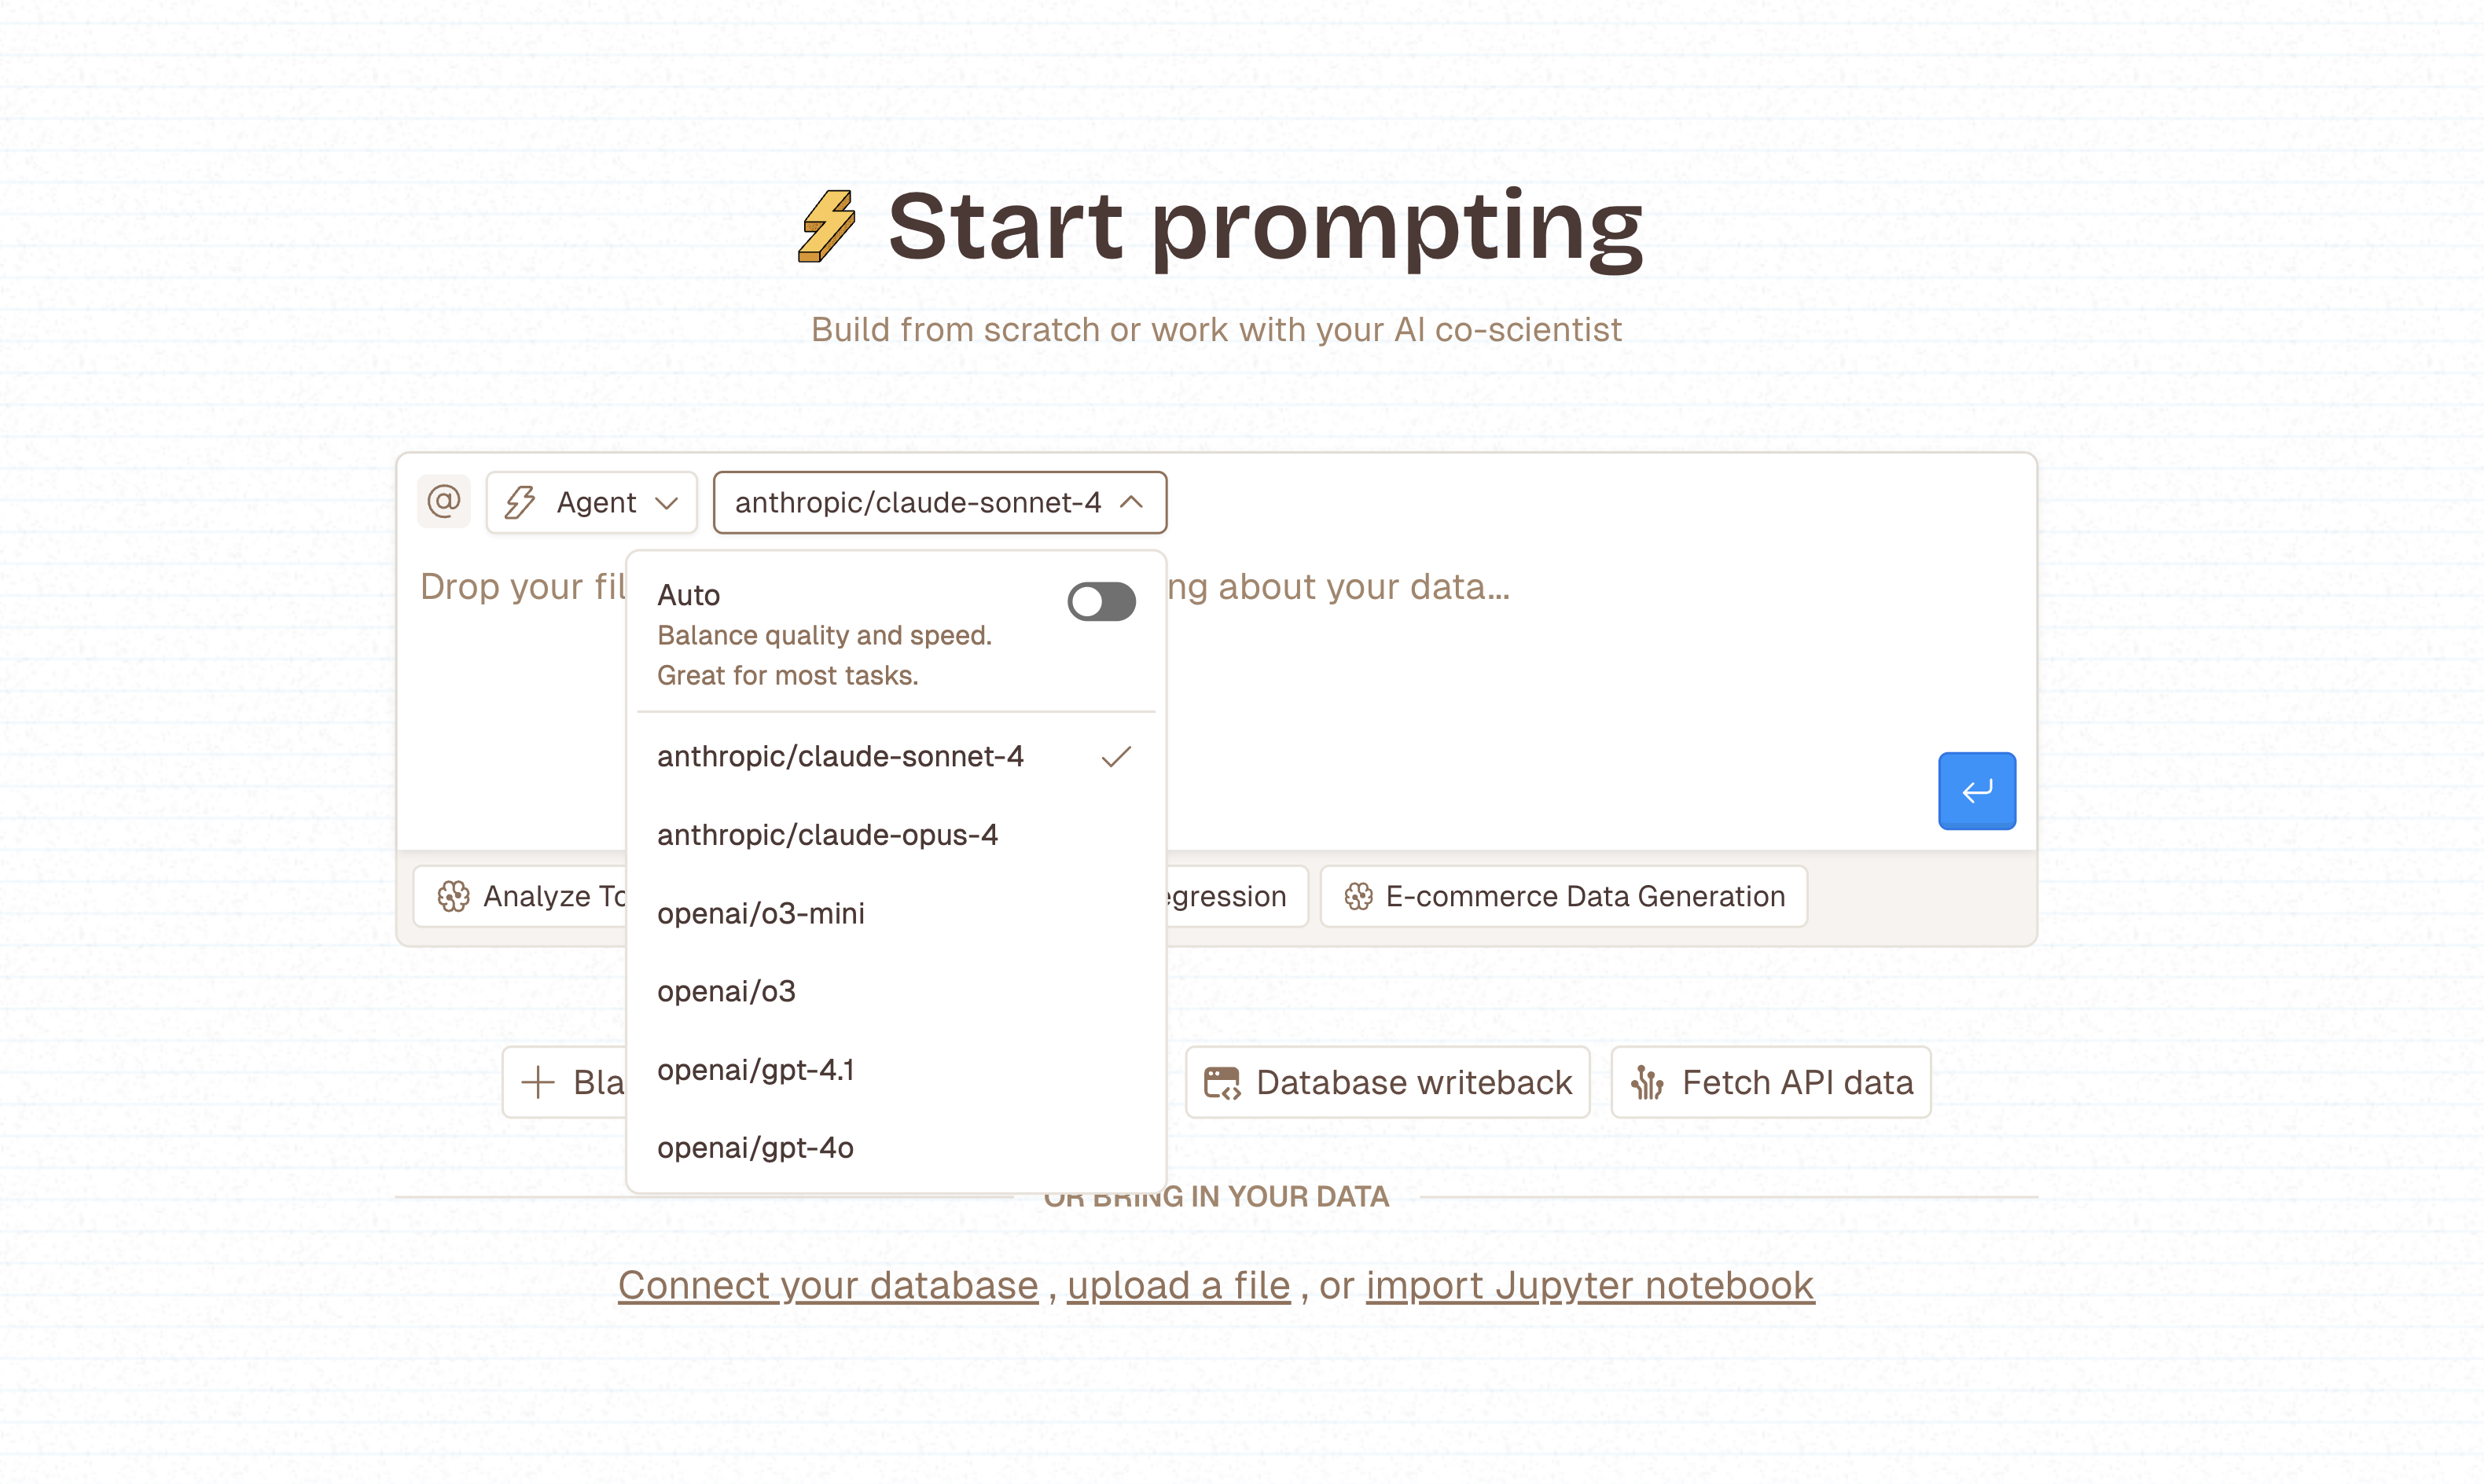
Choosing a Model
- Select your preferred AI model directly from the prompt box.
- Livedocs supports all major frontier models — more are available on request.
Usage limits
- Free Plan – Includes $10 of AI usage.
- Pro Plan – Add a payment method to use any supported model and pay for usage beyond the $10 limit.
Using the Livedocs Editor
The Livedocs editor is where you create, run, and organize your analysis. Here’s how to make the most of it:
Adding New Cells
- Floating Add Bar (Bottom) – At the bottom of your document, you’ll see a floating bar. Click it to choose the type of cell to add (SQL, Python, Chart, Text, etc.).
- Between Cells – Hover between existing cells to reveal a + icon. Click it, then choose your cell type.
You’ll find detailed documentation on each cell type in the upcoming sections.
Running Cells
- Run a Single Cell – Each cell has a Run button at the top. Click it to execute only that cell.
- Run All Cells – Use the Run All button at the top of the editor to execute every cell in the correct order, respecting dependencies.
Organize your doc
- Reorder Cells – Drag and drop cells to rearrange them.
- Collapse Cells – Use the small collapse icon on the left to hide a cell’s content while keeping it in the doc.
Document Details
- Rename Your Doc – Click the title to rename.
- Add a Description – Write a description manually, or click the bolt icon to have AI generate one.
About the Editor UI
- The editor includes a sidebar on the left, which can be collapsed to give more space to your document.
- The sidebar provides access to navigation, data sources, AI sessions, and more — details covered in the dedicated Editor UI Overview section.